
 What started as a nice plush carpet can quickly become dingy, stinky, and stained. Not to mention, its fibers can often trap dust and dirt that not even the strongest vacuum can easily remove. Carpet is also a huge petri dish for allergens to hide in.
But not to worry. You can easily remove carpet in a few quick steps and with a limited set of tools. It’s easy to do even with no DIY chops or prior renovation experience.
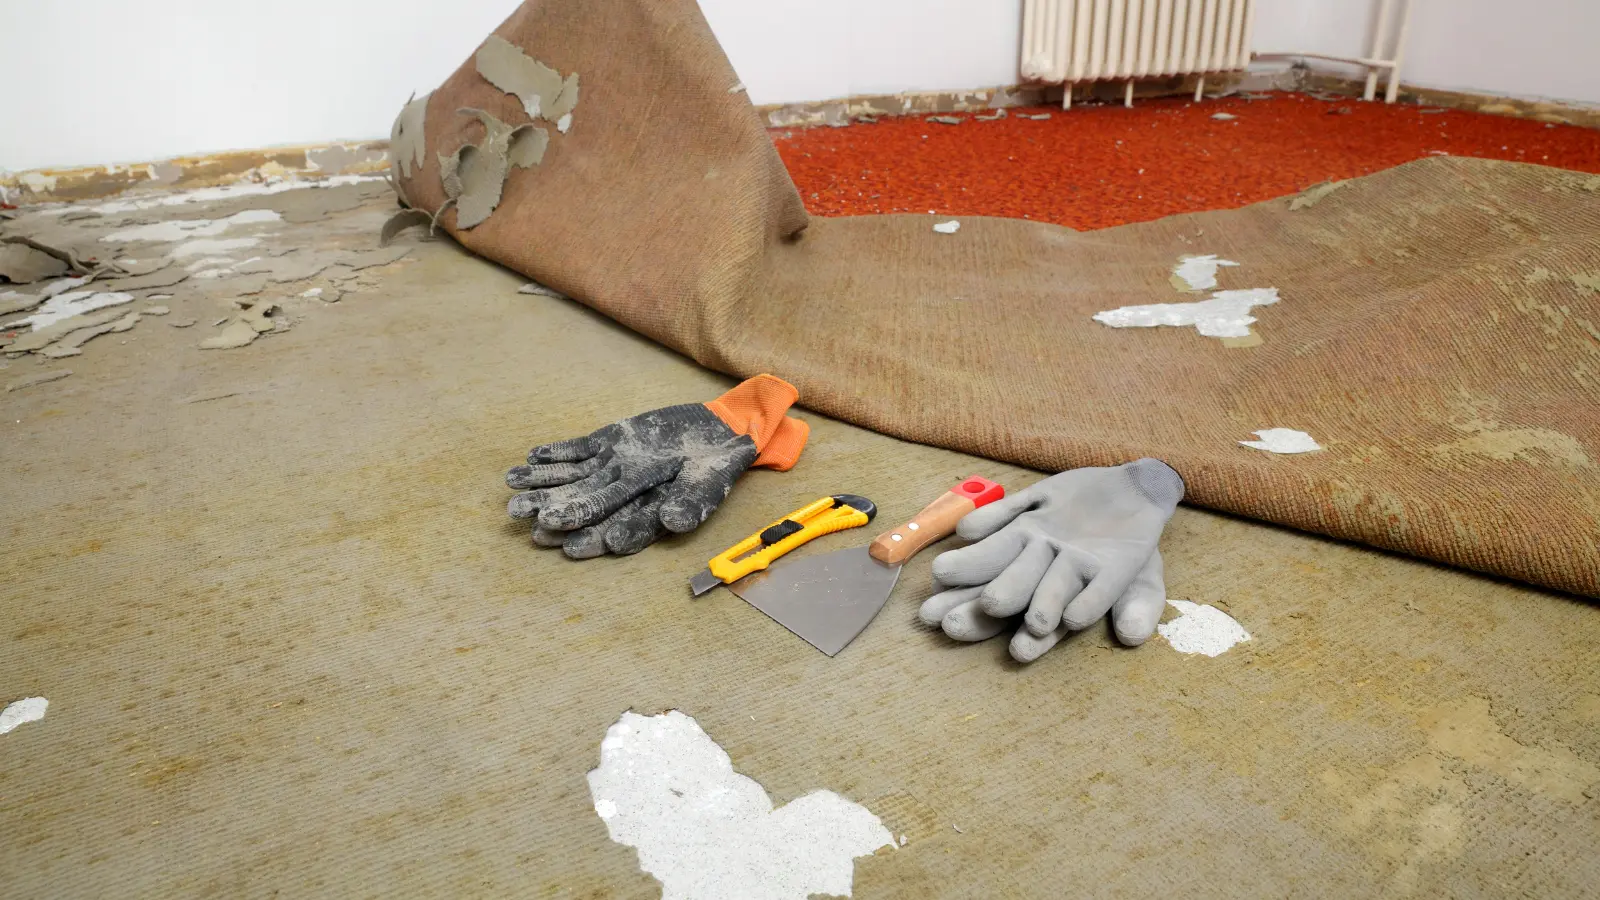
For this job you’ll need:
- Utility Knife or Carpet Knife
- Duct Tape or Rope
- Hammer
- Pry Bar
- Pliers
- Gloves
- 5-in-1 Tool or Scraper
- Mask
The first step to removing carpet is using a utility knife to cut the carpet up into strips no wider than 3 feet and longer than 9 feet. Once you have this rectangle, you’re going to want to tightly roll up the carpet and use some sturdy rope or duct tape to hold it in place. Rolling the carpet like this makes it easier to bring to your dumpster and transfer from place to place.
Once all of your carpet has been put into neat rolls. You’re going to complete the same steps with the underlying carpet padding. Take extra care for this step. Around the perimeter of the room there are many tack strips that held the carpet firmly in place. You might also come across hundreds of staples keeping the padding down. As you remove the padding, watch out for the sharp staples and tacks!
Now that the carpet and the carpet pad have been removed, it’s time to tackle the tackstrips. Using a hammer, carefully slot the prybar in between the tackstrip and floor. Then pry up the strip. Use the gloves and avoid the nails that poke out of the strip. Sometimes the wood could splinter and snap, just be aware of the sharp edges and move to the next section as you pry it all up.
The tackstrip might leave behind a couple of larger tacks or nails that held the strip to the floor. Go around with your hammer and use the end of the hammer to remove them from the floor.
The next step is to tackle the staples or any remaining adhesive. What you’ll have depends on your subfloor. On a wooden subfloor your padding will be attached with hundreds of staples. With a concrete floor, the padding is traditionally glued.
To remove the staples that held the padding to the floor, use your pliers and individually pull up each one. It’s a tedious process but easy enough. As an alternative, a long handled floor scraper can make quick work of the staples-when used like a push broom. The box stores also sell a specialized tool called a carpet staple remover.
If your subfloor is concrete, first use a tool, like a 5-in-1 to scrape any padding that is stuck in the adhesive. If any spot is giving you trouble, you’ll want to try a commercial adhesive remover, or a power tool.
Congratulations! Now your floor should be carpet free and ready for its next chapter. For an easy install, call your local TruBlue Total House Care to refinish the subfloor, or install your new flooring of choice; tile, vinyl, laminate or otherwise.